MORE DETAILS
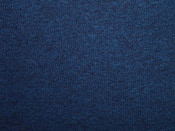
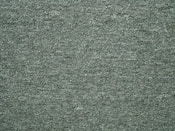
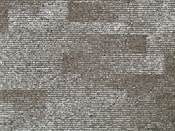
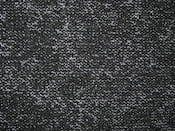
Basis Carpet Tiles
Mid Grey
50cm x 50cm
Mid Grey
50cm x 50cm
£2.00 + VAT per tile £2.40 inc VAT per tile
More Info / Free Sample
It's easy! Just follow our fitter's simple steps for a perfect installation.
Before you start, have a good look at the floor surface.This should be sound, solid and dry. If you’re in any doubt about cracks, holes, unevenness, damp or dust issues please ring us on 0115 940 4454 for free expert advice.
Pay attention to the arrows on the backs of the carpet tiles – lay them all in the same direction for a broadloom look. Alternating each carpet tile will reflect the light differently creating an attractive checkerboard pattern. Needlepunch velours and ribs must be laid checkerboard because of the directional nature of the pile fibre. Some carpet tiles can be laid brick-bond, phone us on 0115 940 4454 for advice if you’re not sure.
Just follow these six steps to a professional looking finish:

Fitter’s Tip –Always start in the middle; don’t start off along a wall. If the wall runs out of true, so will the carpet tiles.
Fitter’s Tip - You can apply the liquid tackifier to as small or large an area as you like, but you MUST wait 20 - 30 minutes for it to dry to a clear, tacky film. The adhesive will then remain permanently tacky allowing easy uplift of your carpet tiles. If you lay carpet tiles into wet adhesive they will be almost impossible to lift in future, and a floor stripping machine may be required.
Fitter’s Tip -Be sure to lay each carpet tile exactly in line with its neighbour. If you allow the tiles to go “out of register” (i.e. where the corners of four tiles in a square don’t make a perfect cross) the effect can become compounded down the line of tiles.
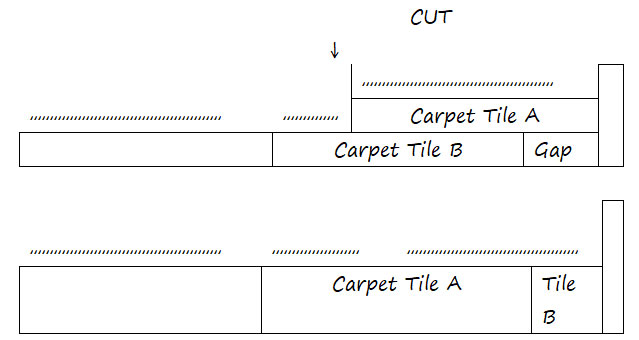
Fitter's Final Tip - Change your cutting knife blade regularly – every 5 or 6 cuts.
Then stand back and admire your work! If you prefer, call us on 0115 940 4454 for a professional fitting service from as little as £3.50 per square metre.